
A good shed earns its keep. It swallows garden tools, bikes, paint tins you swear you’ll use again, and still has room for a quiet bench and a radio. Done right, it stands square for decades, stays dry through sideways rain, and shrugs off snow without a groan. This guide walks through the full build, from permits and siting to foundations, framing, roofing, doors, electrics and maintenance. It assumes you already swing a hammer without hurting yourself and you know the noisy end of a circular saw.
Start with the boring bits that save you later
Check local rules before you buy a single screw. Many municipalities allow small outbuildings by right up to a size limit, height limit or distance from the boundary. Go larger, go taller, or place it too close to the fence and you’ll meet paperwork and possibly a neighbor with a long memory. Sketch the footprint, roof pitch, door swing and window layout, then mark the site with stakes and string so you can see how it actually sits with trees, paths and sun.
Think hard about use. A mower bay wants a wide, low threshold and beat-up flooring near the door. A bike shed needs tall headroom at the entrance and anchor points for locks. A workshop wants natural light on the non-dominant side to cut shadows, plus outlets where cords won’t snag. If you plan to insulate later, design for that now so you don’t have to undo half the build.
Placement, orientation and ground conditions
Pick high, firm ground over low, soft ground every time. Water is the enemy here. If you only have a flat spot that puddles, add fill, build up a pad and plan drainage. Face doors away from the worst wind if you can, and think about snow drift patterns. Windows on the south and east sides pull in light early and keep the space cheerful on short days. Leave working space around all sides for painting, gutter cleaning and the day you’ll curse the hedge while replacing a cladding board.
Foundation choices that actually work
A shed does not need a cathedral foundation, but it does need solid, level support and separation from wet soil. Three common options cover almost every case.
Ground screws or steel piers make quick work of sloped or rooty sites and avoid digging. Adjust them to level with a wrench and you’re framing in an afternoon. Concrete piers or blocks set below frost depth are the old standby and spread loads well. A full slab gives a bulletproof floor for bikes and heavy benches, but costs more and needs proper edge insulation if you’ll heat the shed. Whatever you choose, lay a geotextile under a gravel bed to stop weeds and mud creeping up, and keep timber off the soil with treated sills or metal shoes.
Floor framing and the quiet squeak test
Frame floors like you want them to feel solid with boots and a wheelbarrow. 45×195 mm joists at 400 mm centers handle most spans for small buildings; bump up depth or add a beam if you go wider. Glue and screw tongue-and-groove subfloor, not nails alone, and run a bead on every joist to kill creaks before they’re born. If moisture is a risk, look at plywood rated for humid conditions and paint the underside before installing. Ventilate the crawl space and leave critter mesh on all openings so you don’t end up sharing with mice.
Walls that resist racking and winter sulk
Stud walls at 600 mm centers are fine for light cladding if you sheath with structural plywood or OSB to stop racking in wind. Tie corners well, install let-in bracing or full sheets, and keep openings framed with proper headers sized to span their width. If the shed will be heated or used for tinkering in cold months, plan a simple wall build-up: cladding, air gap, sheathing, studs with mineral wool, vapor control layer on the warm side, then an interior lining like plywood that takes screws everywhere. Plywood inside saves hours because shelves can land anywhere without hunting studs.
Roof forms, snow load and leaks you’ll never see
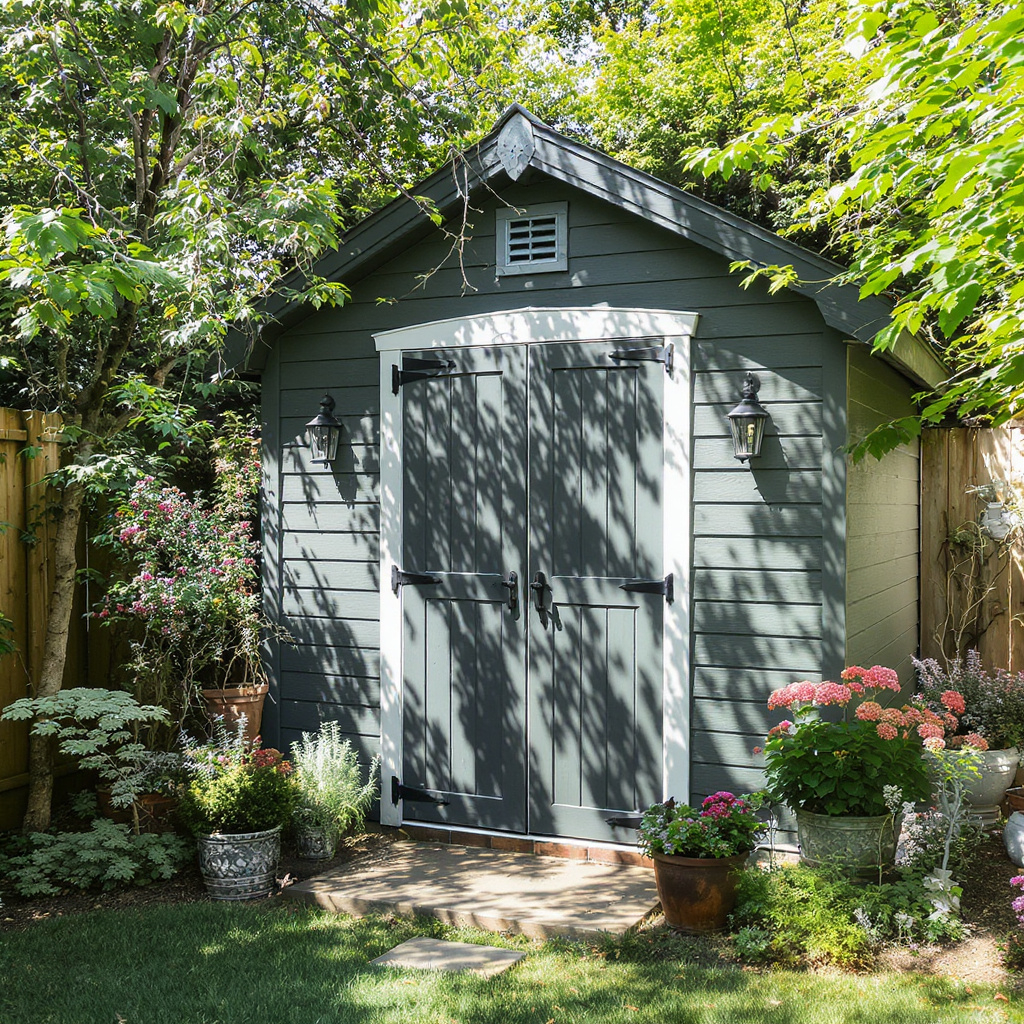
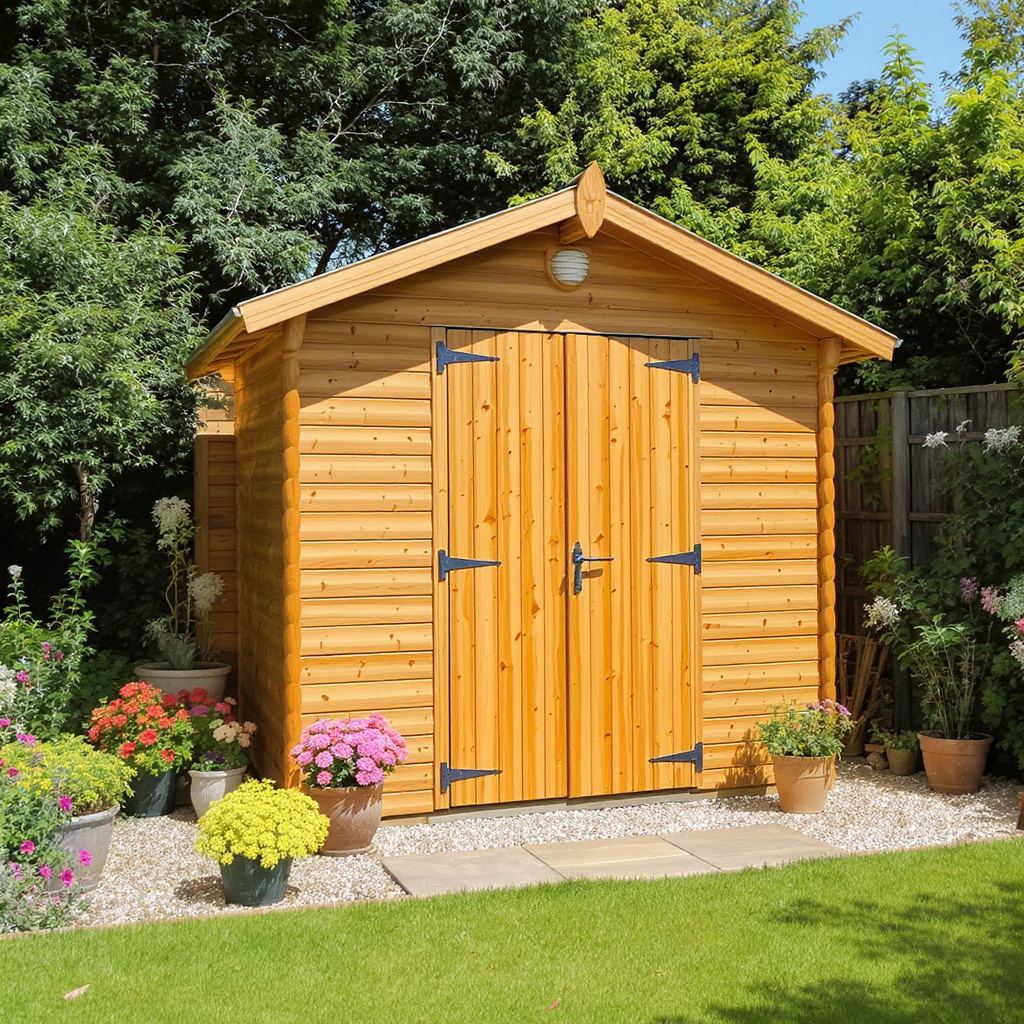
A simple gable roof is the easiest to build straight and shed snow cleanly. A mono-pitch is faster to frame but can look chunky if the rise is too small. Whatever the shape, give it honest pitch. Steeper angles help snow slide; shallow angles demand careful waterproofing and stronger rafters. Size rafters for your climate’s snow load and space them to match your insulation width. Use a continuous underlayment, add eaves protection where ice dams form, and never skimp on flashing. Roofs don’t fail in the big, obvious places; they fail at the little junctions around chimneys, skylights and against the wall of the house if you connect to it. If you want inspiration that leans clean and practical, see Swedish Shed Design at Swedish Shed Design for traditional lines that handle weather without fuss.
Roofing materials that age well
Metal sheet is hard to beat for sheds: light, long spans, quick to fix, reliable at low pitch, and happy under snow if you add snow guards where people walk. Concrete or clay tiles look good next to older houses but add weight and need more structure. Bitumen shingles are quiet in rain, easy for solo builders, and workable around vents. Whatever you pick, match the manufacturer’s pitch limits and use their trims. The extra few boards for proper overhangs, drip edge and a straight fascia will make the shed look finished rather than “weekend project that got away from me”.
Doors, windows and daylight you will not regret
One wide door beats two narrow doors for wheelbarrows and mowers. Fit a low threshold and a sweep that can take grit. Use three hinges on wide leaves, add a proper latch plus a deadbolt or padlock hasp backed by a steel plate, and protect the frame with metal where prybars love to bite. For windows, simple fixed panes placed high deter casual snoops and keep wall space free for shelving. If you need ventilation, add a top-hung opener with a stay that won’t slam in a gust. Polycarbonate roof panels or a skylight strip can flood the bench area with light but must be flashed like you mean it.
Moisture control from the ground up
Keep splash-back off cladding with at least 200 mm of clear height from finished ground to the first board. Fit gutters even if you think you can skip them; they keep walls clean and foundations dry. Run downspouts to a splash block, soakaway or a small barrel for watering. Behind timber cladding, use vertical battens for a ventilated cavity, and add insect mesh at the base and eaves. Inside, a simple cross-vent path—low grille at one end, high vent at the other—keeps the air moving and tools rust-free. Seal the vapor control layer at joints, sockets and corners so warm, moist air stays out of the insulation where it can condense.
Cladding choices and finishes that last
Treated softwood, larch and fiber-cement all work outdoors with different looks and lifespans. Vertical boards with battens handle swelling and shrinking well and suit narrow sheds. Horizontal lap cladding throws water cleanly and hides small sins in the framing. If you paint, prime all faces before installation, especially end grain. Light colors run cooler in sun and stretch paint life. If you prefer oils or stain, accept you’ll be back in a few years for a refresh and plan a path around the shed wide enough to set a ladder safely.
Insulation, heat and comfort without wasting watts
If you’ll use the shed in cold months, insulate floor, walls and roof together or the weak link will tell on you. Mineral wool is cost-effective and easy to fit between studs and rafters. Rigid foam in the floor helps a lot with cold feet on a dawn bike repair. Tape the vapor layer neatly, fit gaskets behind outlets, and seal the loft hatch. For heat, a small electric panel or infrared heater is clean and low hassle; a compact wood stove is cozy but adds clearances, flue work and insurance calls. Even with heat off, a tight building with gentle ventilation keeps rust at bay and glue bottles pourable.
Wiring, lights and small safety habits
Run power from a dedicated circuit with outdoor-rated cable and protection. Surface-mount conduits on the inside so changes later are easy. Place enough outlets that extension cords become rare. LED battens or strips along the ceiling edges give even light across the bench without harsh glare; a single bright point dead center throws shadows where you least want them. Add a motion light outside over the door, a small extinguisher by the entrance and a smoke alarm near the ceiling. None of this costs much compared with one bad day.
Storage that stops the slow creep of chaos
Plan storage before the walls close. A run of plywood French cleats lets you hang shelves, bins and hooks anywhere and move them when life changes. Deep shelves go high for bulk, shallow shelves at arm level for small parts so you can see everything. Put the bench where daylight falls across it sideways, then hang the most-used tools within a single step. Tall items like rakes live on a lath rack by the door to stop wet dirt tracking across the floor. A staggered bike rack with alternating heights saves bar clash and bruised knuckles.
Sound, smell and neighbors who might care
No one loves a 7 a.m. planer on a Sunday. Line the walls with plywood and mineral wool if you need to take the edge off machine noise. Fit rubber pads under stationary tools and door sweeps that don’t rattle. If fumes are part of your hobby, add a small extractor near the bench and store solvents in a metal box. A simple rule saves friendships: loud and smelly work in short bursts, doors closed, and a text to the neighbor if you plan a longer session.
Security without turning it into a bunker
Light, visibility and time are your friends. Prune shrubs back, add a dusk-to-dawn light, and keep windows small or frosted. Use coach screws with big washers on hinges and hasps, back plates on locks, and through-bolts where wood might split. Anchor a ground bar for bikes and big tools. Mark valuable kit and photograph serial numbers. If you run power, a small camera aimed at the door sends alerts and keeps honest folks honest.
Budget, schedule and where to spend money
Spend on the envelope: roof, cladding, flashing, and good fixings. Those parts protect everything else you own. Save on fancy shelf systems and door furniture if money’s tight; you can upgrade those later in an afternoon. A typical small shed runs like this: week one for design, permits and ordering; weekend two for site prep and foundations; weekend three for framing and sheathing; weekend four for roofing and cladding; the rest for doors, trim, paint and the never-ending tidy-up. Weather, helpers and surprise tree roots will edit this timeline without asking.
Tools and simple tricks that make it cleaner
A long level or laser saves hours of chasing “close enough”. Sharp blades in saws and a decent dust mask protect both finish and lungs. Clamp a sacrificial board under cuts to stop tear-out on cladding. Pre-drill near board ends. Keep a notebook in the shed with measurements, paint codes, and where you buried that spare conduit, because in six months you will not remember.
Maintenance that keeps the new look long
Walk around every spring with a coffee and a pencil. Look for peeling paint, loose trim, clogged gutters and dings from the mower. Touch up end grain and cut edges first; they soak water fastest. Clear leaves from the base so the bottom board can dry. Peek inside the roof on a rainy day with the lights off; any pinhole leak shows up as a tiny star you can fix before it grows teeth. Oil locks, tighten hinge screws, and check that vents aren’t stuffed with cobwebs.
Common mistakes and how to avoid them
Building too low to the ground is the classic one. It traps damp, rots the bottom board and invites critters. Skipping sheathing leaves walls wobbly the first time wind leans on them. Tiny overhangs dump water down the face and stain everything. No drip edge means swollen fascia and a sad sigh next winter. Under-sizing doors turns every mower run into a three-point turn. All easy to dodge with five extra minutes on the plan and a few more meters of timber.
Wrapping up without fluff
A shed is simple carpentry, but the details decide whether it feels like a clean, dry room or a damp box that smells like wet cardboard. Keep water out, keep air moving, build square, and give yourself light you actually want to work in. Do that and you’ll get a space that earns its patch of ground every single week.